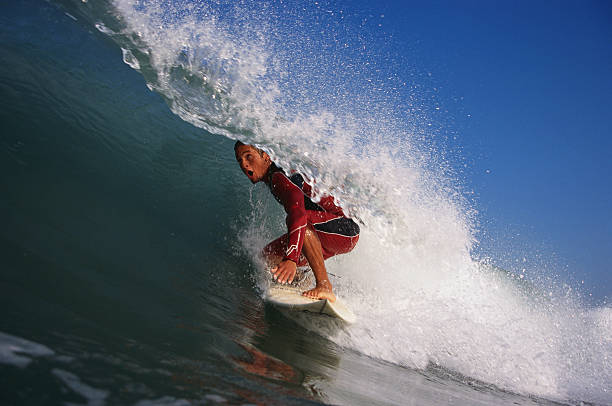
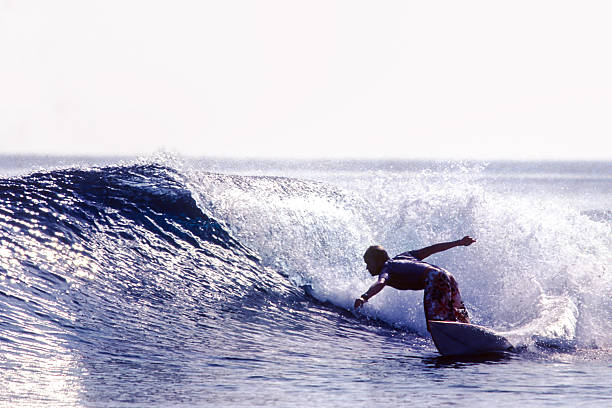
There you are, dropping into a solid six-foot wall near the point, the lip is throwing a little spit, and you feel your back foot start to slide just a quarter inch toward the stringer. That little slip kills your whole line. Suddenly you’re fighting to find that sweet spot again, the one you dialed in on dry land, but now the board is chattering, the fins are losing bite, and you either bail or try to muscle through a turn that feels all wrong. That moment right there, that split second of lost connection, is exactly why traction pads exist. And honestly, once you start paying attention to the subtle architecture of that little patch of foam under your back foot, you’ll never look at your board the same way again.
The traction pad isn’t just a piece of sticky foam you slap on the tail. It’s a precision tool that bridges your body’s power with the board’s response. The real magic lies in the arch bar. That raised ridge running perpendicular across the middle of the pad isn’t just for show. It’s your back foot’s home base, the reference point your brain uses to find the tail without looking down. When you’re dropping in, that arch bar catches the arch of your foot and locks you into place. It tells your body, okay, right here, this is where the pivot lives. Without it, your foot wanders forward when you’re trimming, or drifts too far back when you try to snap the tail, and you lose the leverage that makes your turns crisp and powerful.
A good pad gives you three distinct zones of control. The kick tail ramp, that steeply angled rise right at the very back, is your anchor for radical maneuvers. When you’re wrapping a cutback or driving through a bottom turn, you jam your heel into that ramp and the board responds instantly. It’s like having a point of no return. The flat section in front of the arch bar is where your front toes sit during those cruising moments, when you’re just trying to glide down the line and feel the wave breathe beneath you. The arch bar itself is the line between comfort and chaos. Too flat and you slide. Too steep and your foot cramps up after twenty minutes. The best pads have a gentle, organic curve that cradles your foot without fighting it.
The material science is where things get really interesting. The best traction pads use a closed-cell EVA foam that’s been crosslinked for density. This stuff doesn’t absorb water, which means it won’t get heavy or slippery after a long session. The surface is usually a diamond pattern or a honeycomb texture that creates hundreds of tiny suction cups against your foot. But here’s the secret that most people miss. The glue matters just as much as the foam. A three-millimeter, high-tack adhesive that uses a flexible bonding agent will stick to your board’s glass job like a barnacle, but it also has to peel off cleanly when you eventually need to swap pads. The good stuff doesn’t leave that crusty, gummy residue that requires a heat gun and a morning of elbow grease.
Placement is the final piece of the puzzle. You can have the most expensive pad in the world, but if you stick it too far forward, your back foot will never find the tail when you need it. The general rule is to align the back edge of the pad with the board’s stringer in the tail, about two inches from the very end. Then you angle the pad so the kick tail aligns with your stance’s natural heel placement. Some guys run their pads perfectly straight, but a lot of experienced surfers angle the pad ever so slightly, maybe five degrees toward the heel side rail, to match their back foot’s natural twist during a bottom turn. It sounds small, but that degree of tilt turns a good pad into a great one.
These days, you’ll see pads that combine different densities in different zones, softer foam under the ball of the foot for sensitivity, a stiffer ramp for power, and a slightly raised arch bar that’s almost like a chiropractor for your stance. Some riders swear by the three-piece pad that leaves a gap down the stringer, claiming it gives them better rail-to-rail feel. Others want a solid block that makes them feel welded to the board. There’s no wrong answer here, just what works for your feet and your wave. But one thing holds true across every board, every break, and every skill level. A quality traction pad is the cheapest upgrade you can make that will instantly change the way your board feels. It’s the difference between fighting the wave and dancing with it.
So next time you’re suiting up, take a second to appreciate that humble piece of foam. It’s not just grip. It’s a partnership between your foot and the ocean.